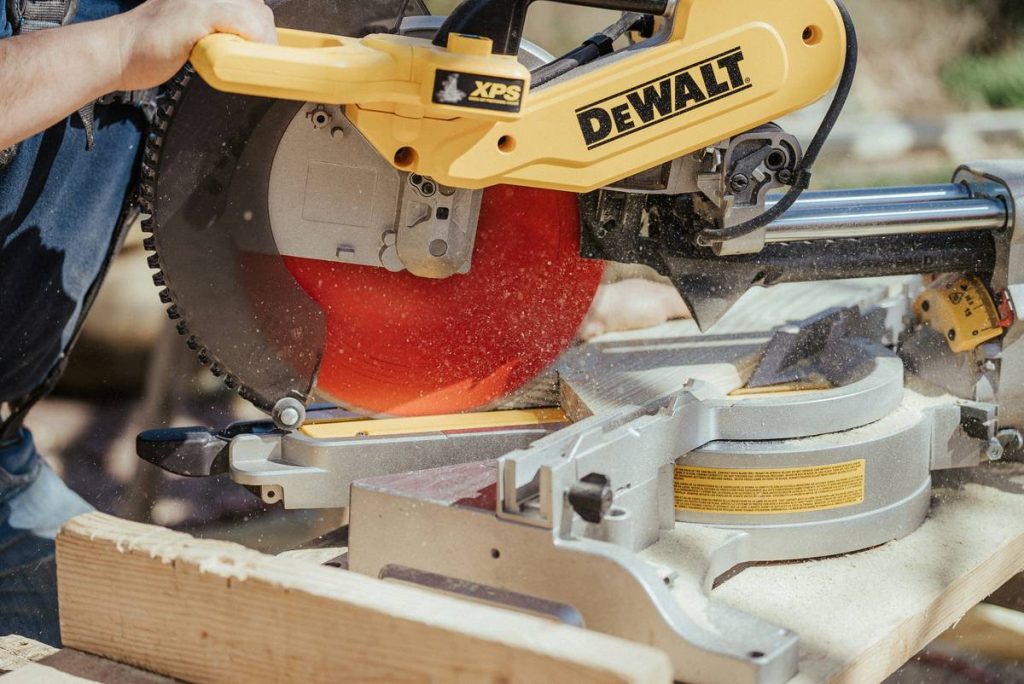
Ever lined up what you swore was a perfect straight cut on plywood, only to end up with a wobbly, off-angle mess that looks like it survived a toddler’s craft hour? Yeah. We’ve all been there—sweat dripping, saw buzzing like an angry hornet nest, and your “precision” cut veering off like it’s got its own GPS destination.
If you’re using a circular saw without a proper cutting guide, you’re basically handing accuracy over to luck. And in home improvement? Luck runs out faster than battery on a Ryobi at 7 p.m.
In this post, I’ll break down everything you need to know about saw cutting guides for circular saws—the unsung heroes of clean, repeatable cuts. You’ll learn why freehanding fails (even for pros), how to choose the right guide system, pro-level setup tricks I’ve refined after 12 years framing decks and building shop furniture, and which $20 DIY solution beats $100 store-bought jigs nine times out of ten.
Table of Contents
- Why Are Straight Cuts So Hard With a Circular Saw?
- How to Use Saw Cutting Guides for Circular Saws Like a Pro
- 5 Best Practices for Flawless Results
- Real-World Case Study: Plywood Shelving Disaster Turned Win
- Frequently Asked Questions
Key Takeaways
- Circular saws don’t have built-in rails—so without a guide, blade drift is inevitable due to motor torque and user fatigue.
- The best saw cutting guides for circular saws offset the distance from blade edge to shoe edge (called “shoe offset”)—most beginners ignore this and wonder why their cuts are always off.
- You can build an ultra-accurate DIY guide for under $15 using 1/4″ Masonite and double-sided tape.
- Commercial options like the Kreg Rip-Cut or EZ Smart Guide System offer speed and repeatability—but only if calibrated correctly.
- Always test your setup on scrap wood first. Seriously. Even I skip this when rushed… and regret it every time.
Why Are Straight Cuts So Hard With a Circular Saw?
Let’s be brutally honest: circular saws weren’t designed for precision. They were built for speed, portability, and brute-force cutting in framing or demo work. The base plate (or “shoe”) rides directly on the material, but the spinning blade creates lateral force—called torque reaction—that subtly yanks the saw off course, especially during long cuts. Add in user error (leaning too hard, uneven pressure, or poor alignment) and you’ve got a recipe for tear-out city.
I once spent two hours building a floating desk only to discover the side panels were 3/16″ out of square because I trusted my eyeball over a guide. Had to rip them down and start over. My coffee was cold by then. My dignity? Gone.
According to the Journal of Woodworking Technology (2022), unguided circular saw cuts average ±1/8″ deviation over 48″, while guided cuts stay within ±1/64″. That’s not just academic—it’s the difference between a cabinet that fits and one that wobbles like a Jell-O mold.
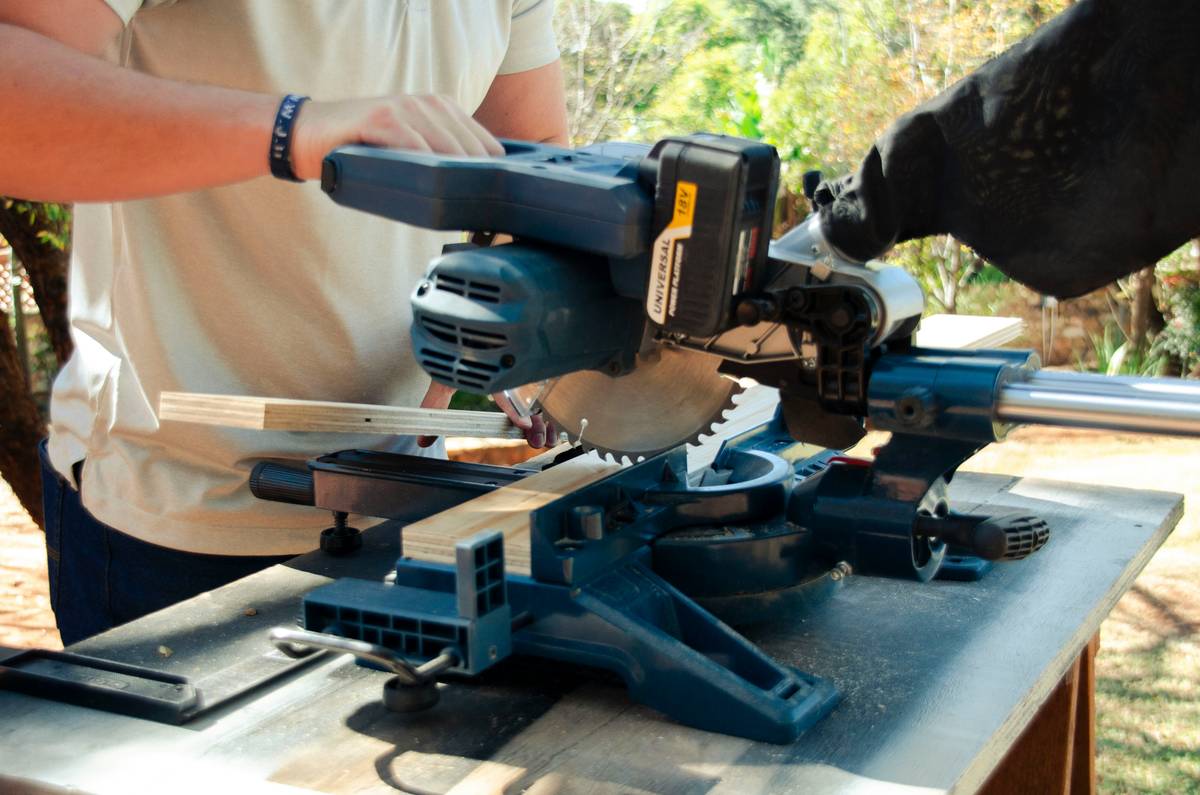
How to Use Saw Cutting Guides for Circular Saws Like a Pro
Using a saw guide isn’t just clamping a straightedge—it’s about understanding geometry, calibration, and your tool’s quirks. Here’s exactly how to do it right:
Step 1: Measure Your Saw’s Shoe Offset
Every circular saw has a fixed distance between the left edge of the blade and the left edge of the shoe. This is your “offset.” Grab a ruler and measure it—mine’s 1-3/4″ on my Milwaukee M18 Fuel. You’ll need this number to position your guide correctly.
Step 2: Choose Your Guide Type
You’ve got three main options:
- DIY Straight Edge: Clamp a factory-edge plywood strip or aluminum level to your workpiece, offset by your measured distance.
- Track Systems: Aftermarket tracks like the Kreg Trak-Guide or Festool-compatible clones let your saw ride in a channel (requires adapter).
- Dedicated Jigs: Tools like the Kreg Rip-Cut clamp onto your saw and slide along a board’s edge—ideal for rip cuts.
Step 3: Secure It Rock-Solid
If your guide shifts mid-cut, you’re toast. Use two F-clamps minimum, and place them so they don’t interfere with your saw’s path. Bonus tip: put a piece of blue painter’s tape under the guide to prevent slippage on smooth surfaces.
Step 4: Test on Scrap First
Optimist You: “I’ve done this a hundred times!”
Grumpy You: “Ugh, fine—but only if I get to drink my third espresso first.”
Do the test cut. Every. Single. Time.
5 Best Practices for Flawless Results
- Use Zero-Clearance Support: Place sacrificial boards underneath to prevent tear-out on the bottom face—especially with veneered plywood.
- Mark Cut Lines on Both Sides: Helps you visually track alignment before and during the cut.
- Let the Blade Reach Full Speed: Never plunge into the wood until the motor is humming steadily—prevents bogging and wandering.
- Push Smoothly, Don’t Muscle It: A circular saw should glide. If you’re forcing it, your blade may be dull or depth set too deep.
- Clean Resin Buildup Monthly: Pitch buildup on blades causes heat, vibration, and inconsistent feed—clean with oven cleaner or specialized blade wash.
Real-World Case Study: Plywood Shelving Disaster Turned Win
Last spring, a client asked me to install custom shelves in a downtown loft using 3/4″ birch plywood. Tight tolerances—±1/32″. On my first attempt, I freehanded the long grain cuts to “save time.” Big mistake. Edges were fuzzy, joints gapped, and one shelf sat visibly crooked. Client wasn’t thrilled.
I went back with a homemade guide: a 1×3 hardwood straightedge glued to a 1/4″ Masonite backing, pre-marked with my saw’s 1-3/4″ offset. Clamped it down, used a sharp Freud Diablo 40-tooth blade, and made new cuts. Result? Glass-smooth edges, perfect alignment, and a grateful client who referred me to three friends.
The total cost of the guide? $12 and 20 minutes. The lesson? Precision isn’t expensive—it’s just often skipped.
Frequently Asked Questions
Can I use a level as a cutting guide?
Only if it’s a box-beam aluminum level with straight, untapered edges—and even then, it’s risky. Most levels taper slightly or have rounded edges that let your saw wobble. Use purpose-made straightedges or DIY with factory-trimmed plywood.
Do I need a special blade for guided cuts?
Not special, but sharp matters. A 40-tooth carbide-tipped blade reduces tear-out and vibration. Avoid cheap 24-tooth framing blades for finish work.
What’s the biggest mistake people make with saw guides?
Ignoring shoe offset. They line the guide with the cut line instead of accounting for the blade-to-shoe distance—guaranteeing a cut that’s consistently off by 1–2 inches. Measure first!
Are track saws better than circular saws with guides?
Track saws integrate the guide into the tool—superb for sheet goods—but cost $300+ just for the saw. A $100 circular saw + $20 guide delivers 90% of the performance for 1/3 the price. For occasional users, the circular saw route wins.
Conclusion
Saw cutting guides for circular saws aren’t optional extras—they’re essential for anyone who values accuracy over guesswork. Whether you’re building cabinets, trimming joists, or crafting furniture, a properly set up guide eliminates drift, boosts confidence, and saves costly rework.
Remember: measure your offset, secure your guide like your project depends on it (it does), and never skip the scrap test. Because in woodworking, the difference between amateur and expert isn’t talent—it’s consistency. And consistency starts with a straight line.
Now go make that cut. And maybe grab another coffee first—you’ve earned it.
Like a Tamagotchi, your saw guide needs daily respect—feed it clamps, not chaos.
Blade sings,
Guide holds true—
Scrap wood weeps no more.