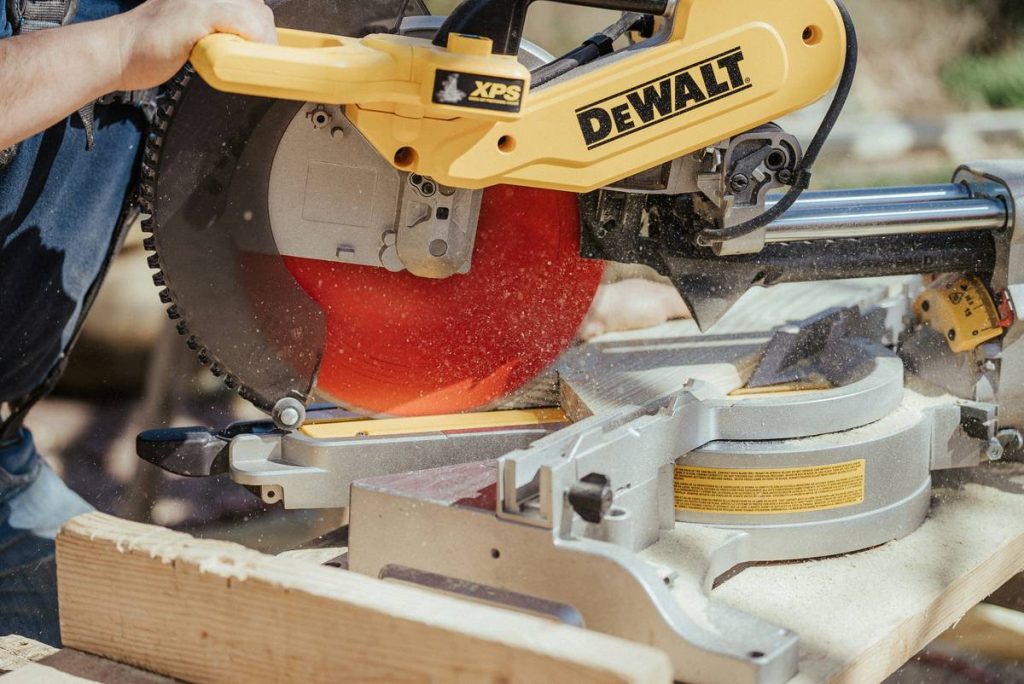
You’ve measured twice, marked your line—and still ended up with a crooked cut. Frustrating? Absolutely. A wobbly, uneven edge ruins plywood sheets, wastes expensive lumber, and kills your project’s credibility. The solution isn’t more practice—it’s precision control. Enter the dewalt circular saw cutting guide: your shortcut to contractor-grade accuracy without spending thousands on a track saw.
Why Freehand Cutting (Even With a Straight Edge) Fails
Most DIYers clamp a level or straight board to their workpiece and call it a day. But here’s the reality: blade deflection, baseplate flex, and inconsistent pressure introduce microscopic deviations that compound over distance. You might think you’re cutting straight—but at 0.5° off-square over 48 inches? That’s nearly a quarter-inch of error. And that’s before accounting for saw vibration or material tear-out.
DeWalt’s own OEM guide systems—or purpose-built aftermarket jigs—solve this by locking the saw’s baseplate into a fixed travel path. No guesswork. No drift. Just repeatable, clean cuts every time.
How to Use a Dewalt Circular Saw Cutting Guide Like a Pro
Forget YouTube hacks involving scrap wood and duct tape. Real precision comes from setup discipline. Follow these steps—not shortcuts—and you’ll outperform 90% of weekend warriors.
Step 1: Choose the Right Guide System
DeWalt offers its own track-compatible kits, but third-party options like Kreg or Milescraft deliver similar rigidity at lower cost. Ensure compatibility with your model—especially DWE575, DCS570, or older 60V MAX variants.
Step 2: Calibrate Blade-to-Guide Alignment
Loosen the saw’s baseplate screws slightly, slide it flush against the guide rail, then retighten. Test on scrap first. If the cut veers even slightly, adjust until the kerf runs dead parallel to the guide edge.
Step 3: Secure Everything—Twice
Clamp both ends of your workpiece. Then add a mid-point clamp if cutting over 36 inches. Vibration is the silent killer of straight lines.
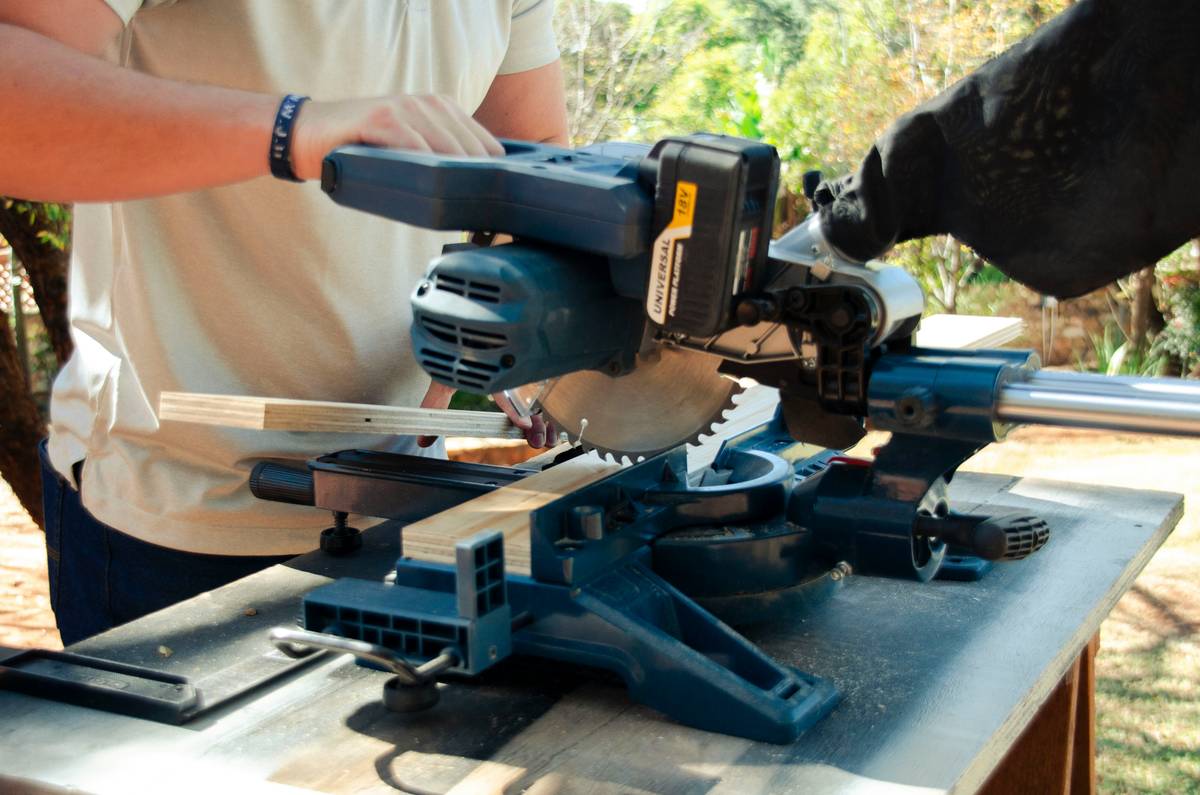
Step 4: Cut Technique Matters
Let the blade reach full RPM before touching wood. Apply steady forward pressure—never downward force. And keep your body aligned behind the saw, not leaning to either side.
| Method | Accuracy (Over 48″) | Setup Time | Cost |
|---|---|---|---|
| Freehand + Straight Edge | ±1/8″ | 3 min | $0 (uses existing tools) |
| DIY Plywood Jig | ±1/16″ | 20 min | $8–$12 |
| Dewalt Circular Saw Cutting Guide | ±1/32″ | 5 min | $45–$80 |
| Track Saw System | ±1/64″ | 4 min | $250+ |
The Industry Secret Most Pros Won’t Share
Here’s what contractors whisper on job sites: the guide isn’t just for straight cuts. Flip it upside down, clamp it perpendicular to your workpiece, and you’ve got a zero-clearance crosscut stop. Or attach two guides at 90° to create a repeatable corner-cutting jig for shelving units. The real power lies in modularity—DeWalt’s system uses standard T-slots, meaning you can bolt on custom fixtures using aluminum extrusions or 3D-printed adapters. One veteran I worked with in Austin built a whole cabinet shop workflow around three $60 DeWalt guides and a handful of toggle clamps. No CNC needed.
Frequently Asked Questions
Will a DeWalt cutting guide fit non-DeWalt saws?
Generally, no. Mounting hole patterns and baseplate widths vary by brand. Some universal adapters exist, but expect calibration headaches.
Can I use it on angled or bevel cuts?
Not safely. The guide assumes a 90° blade orientation. For bevels, revert to a high-quality speed square with anti-slip backing.
Does it reduce splintering on plywood?
Yes—if you pair it with a fine-tooth blade (60+ teeth) and apply masking tape along the cut line. The guide minimizes lateral movement, which is a major cause of tear-out.