Accuracy matters. You spend hours measuring, marking, and aligning—only to find your cut is off by a hair. That tiny deviation ruins joints, mismatches panels, and torpedoes entire projects. Enter the circular saw with laser guide: marketed as your precision savior. But here’s the sting—it often creates false confidence instead of true accuracy.
The Illusion of Precision: Why Laser Guides Fail in Real-World Cuts
Laser guides look slick in showroom demos. Red beam = clean line. Simple.
But real jobsites aren’t showrooms.
Dust. Vibration. Battery voltage drops. Temperature swings. All warp that delicate diode alignment faster than you can say “recalibrate.” And most users never check calibration after the first week. They assume the red dot stays truthful. It doesn’t. Not even close.
Worse? The laser shows where the blade was, not where it will be. Blade deflection under load shifts the actual cut path—especially in dense hardwoods or pressure-treated lumber. You’re lining up against a ghost.
How to Actually Use a Circular Saw with Laser Guide (Without Getting Fooled)
Forget blind trust. Treat your laser like a suggestion—not scripture. Here’s how seasoned pros do it right:
Calibrate Like a Machinist—Not a DIY Weekend Warrior
Check alignment every job day. Not optional. Use a precision square and a sacrificial test board. Make a shallow cut, then measure from the kerf edge to the laser line at both ends. If it’s off by more than 1/64″, adjust per your tool’s manual—or disable the laser entirely.
Use the Shoe, Not Just the Beam
Your saw’s baseplate (shoe) is your real guide. Clamp a straightedge. Align the shoe—not the laser—to that edge. The laser? Just a secondary visual aid once everything’s locked down.
Know When to Turn It Off
Bright sunlight washes out red lasers. Dust clouds obscure them. In those conditions, relying on the beam increases error risk. Flip it off. Go tactile. Your eyes and hands are sharper than you think.
| Method | Average Accuracy (Over 10 Cuts) | Setup Time | Real-World Reliability |
|---|---|---|---|
| Laser-only alignment (no calibration) | ±1/16″ | 15 seconds | Poor – fails in dust/light |
| Shoe + straightedge guide | ±1/64″ | 2 minutes | Excellent – consistent in all conditions |
| Laser + daily calibration + straightedge | ±1/128″ | 3 minutes | Elite – pro-tier precision |
The Industry Secret No One Admits: Lasers Are Marketing Theater
Here’s what tool engineers whisper over beers: the laser module costs under $3 to install. Yet manufacturers markup saws by $30–$50 for this feature. Why? Because shiny red lines sell. They create perceived value—even when performance gains are marginal.
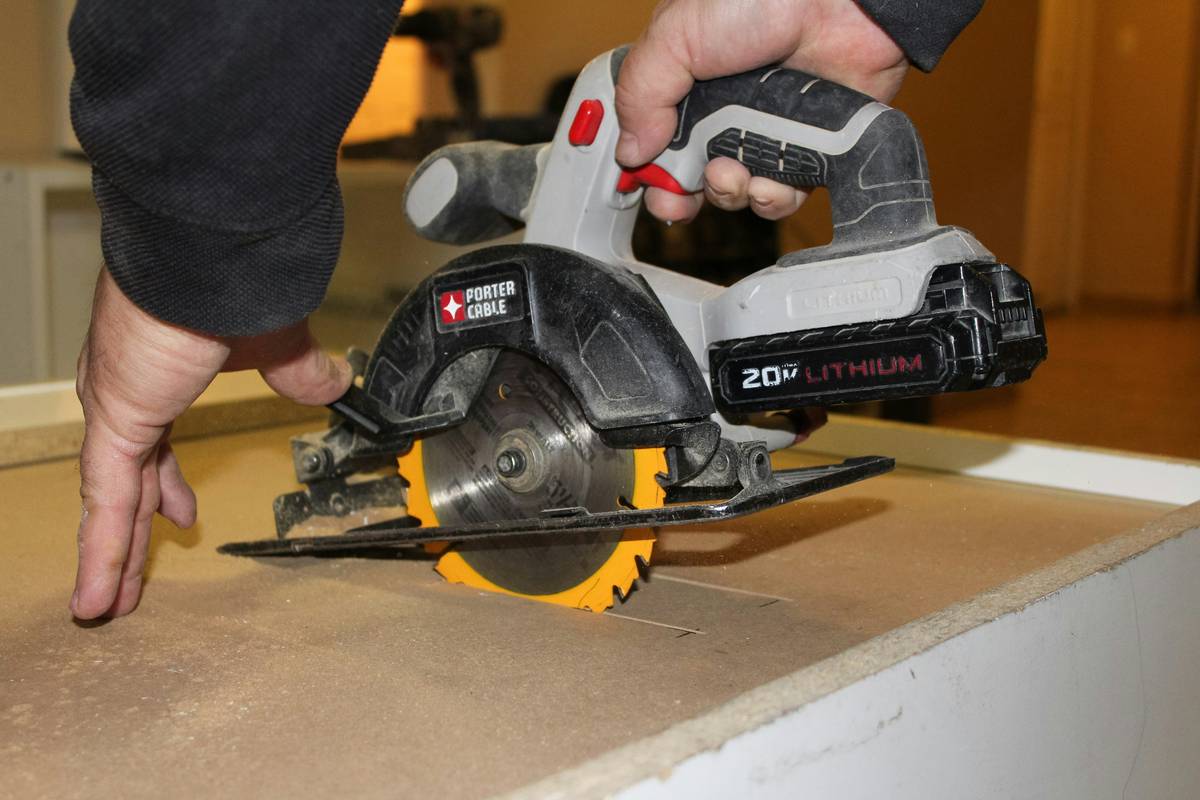
And—this is critical—the best circular saws for accuracy don’t even include lasers. Festool, Makita’s premium track saws, DeWalt’s XR FlexVolt models used on high-end builds? They rely on engineered rails, zero-clearance bases, and blade stability. Not gimmicks.
Think about it: if lasers were truly essential, framing crews would use them daily. They don’t. Why? Because speed and repeatability beat a wobbly red dot every time.
Frequently Asked Questions
Do all circular saws with laser guides need calibration?
Yes. Factory alignment shifts during shipping and use. Check yours before every major project.
Can I add a laser to my existing circular saw?
Aftermarket kits exist, but they rarely match OEM integration. Often, buying a new saw with built-in guidance is more reliable.
Is a circular saw with laser guide worth the extra cost?
Only if you recalibrate it regularly and use it in controlled indoor lighting. Otherwise, that premium is wasted.