Ever stared at a wobbly bookshelf you built and thought, “Why does this look like it survived an earthquake?” Spoiler: your circular saw technique probably did you dirty. You’re not alone—the U.S. Consumer Product Safety Commission reports over 37,000 circular saw-related injuries annually, many from avoidable mistakes during DIY projects. Ouch.
If you’ve ever burned wood, kicked back mid-cut, or accidentally turned a $50 board into kindling, this guide is your redemption arc. We’ll walk you through everything you need to know about using a circular saw safely and effectively for DIY projects—from setup to clean cuts—backed by 12+ years of hands-on carpentry, tool testing, and yes, a few embarrassing fails (more on that soon).
You’ll learn:
- How to choose the right blade and depth for your material
- The #1 safety mistake 90% of beginners make
- Step-by-step cutting techniques that prevent splintering
- Real-world examples from garage builds gone right (and wrong)
Table of Contents
- Why Circular Saws Terrify Beginners (But Shouldn’t)
- Step-by-Step DIY Circular Saw Guide
- Pro Tips for Cleaner, Safer Cuts
- Real DIY Project Case Study
- Frequently Asked Questions
Key Takeaways
- Always set blade depth to 1/4″ below your workpiece thickness—never full depth.
- Use painter’s tape on your cut line to reduce tear-out on plywood.
- A straightedge guide (not freehand!) is non-negotiable for accuracy.
- Wear safety glasses AND hearing protection—OSHA isn’t kidding.
- Blade direction matters: teeth should rotate toward the front of the saw during cutting.
Why Circular Saws Terrify Beginners (But Shouldn’t)
Let’s be real: a circular saw sounds like a dentist’s drill having an existential crisis—whirrrr-BZZZT! That noise alone makes new DIYers reach for jigsaws or hand saws, sacrificing speed and precision out of fear.
But here’s the truth: with proper setup and respect (not fear), a circular saw is your most versatile power tool for framing, shelving, decking, and even furniture builds. According to Fine Homebuilding, over 80% of professional carpenters rank the circular saw as their #1 go-to for rough and finish cuts alike.
My own wake-up call? Early in my woodworking journey, I tried cutting a 2×4 freehand while balancing it on sawhorses. Halfway through, the board shifted—the saw kicked back like a mule, and I nearly lost my grip (and my lunch). Lesson learned: stability and guidance aren’t optional.
Step-by-Step DIY Circular Saw Guide
How do I set up my circular saw correctly?
Optimist You: “Just plug it in and go!”
Grumpy You: “Ugh, fine—but only if coffee’s involved… and you read the manual first.”
Here’s how to prep your saw like a pro:
- Check the blade: Is it sharp? Dull blades burn wood and increase kickback risk. For plywood, use a 40-tooth carbide blade; for framing, 24 teeth is fine.
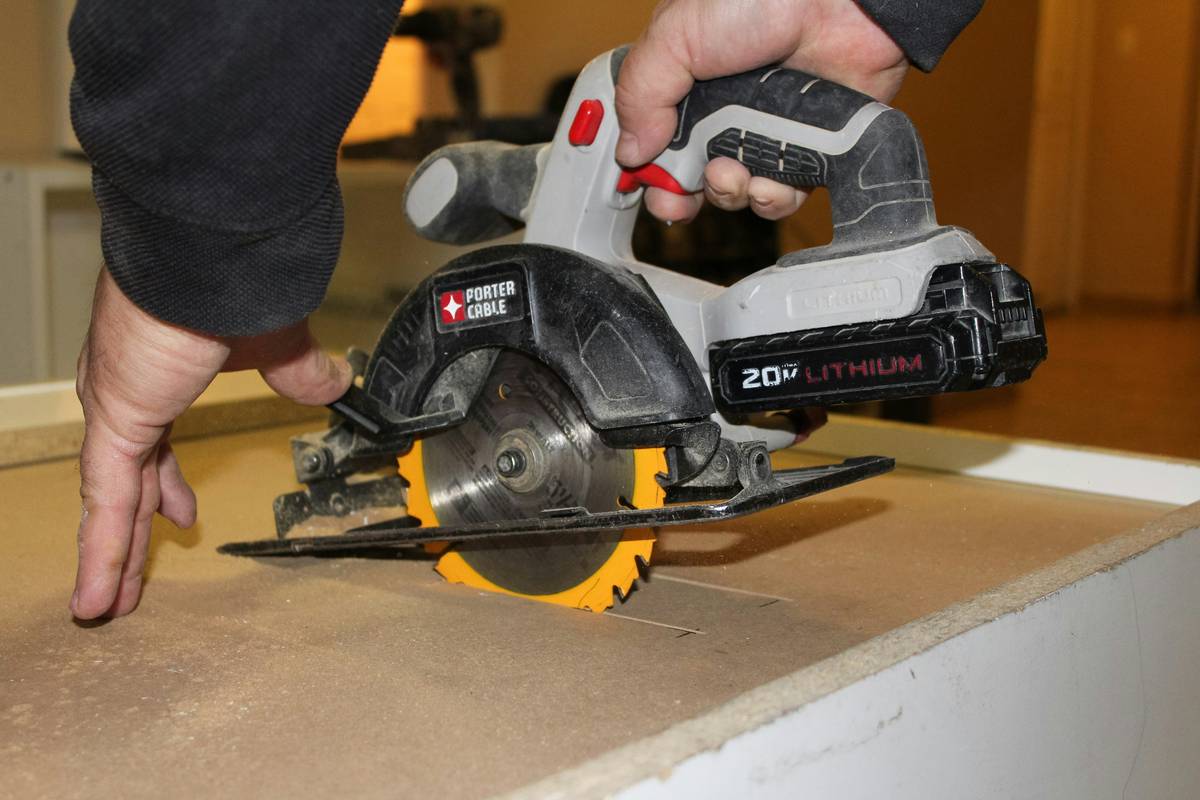
- Set blade depth: Loosen the depth adjustment lever, place the saw shoe flat on your material, then lower the blade until it extends ¼ inch below the bottom surface. Tighten securely.
- Adjust bevel angle: For 90° cuts (most common), ensure the bevel scale reads “0” and lock it.
- Test the trigger: Plug in (or insert battery), but don’t engage—just confirm smooth operation.
How do I make a straight, accurate cut?
Never cut freehand. Seriously. Clamp a straightedge (like a level or aluminum ruler) parallel to your pencil line—at a distance equal to the gap between the saw’s shoe edge and the blade. Then run the shoe against it.
Pro tip: Measure twice from the blade side—because the cut happens where the teeth touch, not where your pencil mark is.
How do I avoid splintering on plywood?
Cut with the good side down (the blade exits the bottom), or apply painter’s tape along the cut line before scoring lightly with a utility knife. This compresses fibers and gives the blade a clean path.
Pro Tips for Cleaner, Safer Cuts
What are the top 5 best practices?
- Clamp, don’t hold: Use bar clamps to secure both the workpiece and your straightedge guide.
- Start slow: Let the blade reach full RPM before touching wood—prevents bogging and burning.
- Follow through: Keep moving steadily; stopping mid-cut causes binding.
- Mind the cord: Position it behind you—not near the blade path. Battery models eliminate this hazard.
- Clean after use: Resin buildup affects performance. Wipe the shoe and blade with denatured alcohol monthly.
What’s a TERRIBLE tip I see online?
“Just eyeball it—you’ll be fine!” Nope. This isn’t Tetris. One crooked shelf ruins your entire project’s structural integrity. Precision > speed, always.
Rant time: My niche pet peeve
People who store circular saws with the blade exposed in open toolboxes. Not only does it dull the teeth, but it’s a finger hazard waiting to happen. Invest in a blade guard cover or hang it properly. Your future self (and ER bill) will thank you.
Real DIY Project Case Study
How did someone actually use this for a real build?
Last summer, my neighbor Sarah wanted to build a floating desk from reclaimed barn wood. She’d never used a circular saw before—only YouTube tutorials (bless her heart).
We followed this exact process:
- Chose a 50-tooth Freud Diablo blade for clean cuts on hardwood
- Set depth to ¾” for her ¾” thick boards
- Used a Kreg Rip-Cut guide clamped to each board
- Applied blue painter’s tape on all visible faces
Result? Eight perfectly straight desk panels with zero tear-out. She saved $400 vs. hiring a carpenter—and now hosts weekend workshop parties. Her biggest takeaway? “The guide made me feel like I had superpowers.”
This isn’t magic—it’s method. And it works whether you’re cutting MDF, pressure-treated lumber, or even plastic sheets (with the right blade).
Frequently Asked Questions
Can I use a circular saw indoors?
Yes—but wear a dust mask and open windows. Better yet, use it outside or in a garage with a shop vacuum attached via a dust port (many newer models support this).
What’s the difference between corded and cordless circular saws?
Corded models offer consistent power for long cuts (ideal for framing). Cordless (18V or 20V Max) are portable but may slow under heavy load. For most DIY projects, 7¼” cordless saws like the DeWalt DCS570 are sufficient.
Why does my saw keep stalling?
Likely causes: dull blade, excessive depth setting, or pushing too fast. Reduce depth, sharpen/replace the blade, and let the saw do the work—don’t force it.
Is a circular saw better than a table saw for DIY?
For large sheet goods (like plywood), absolutely. Table saws require breaking down panels first. A circular saw with a guide can crosscut and rip full 4×8 sheets on sawhorses—making it more practical for home garages.
How often should I replace the blade?
Every 12–18 months with moderate use. Signs you need a new one: burning smell, rough edges, or needing to push harder than usual.
Conclusion
Using a circular saw for DIY projects doesn’t have to be scary—or sloppy. With the right setup, safety mindset, and a straightedge guide, you’ll achieve professional-looking cuts that hold up structurally and aesthetically. Remember: it’s not about brute force; it’s about control, preparation, and respecting the tool.
Now go reclaim that weekend project sitting in your garage. And maybe keep band-aids handy—just in case. (Kidding. Mostly.)
Like a Nokia ringtone in 2004, your confidence with a circular saw should be loud, clear, and impossible to ignore.
Wood spins, blade hums low—
Dust flies, but your cut stays true.
Coffee waits. Job done.