You’ve measured twice, cut once—and still ended up with a jagged, crooked mess. Frustrating? Absolutely. A wobbling blade or slight hand tremor turns precision into guesswork. But what if your circular saw could slice straight lines like a laser-guided CNC—without the $5,000 price tag? Enter the saw circular cutting guide: your secret weapon for flawless DIY cuts.
Why Freehand Circular Saw Cuts Fail (Every Time)
Let’s be honest: your hand is not a machine. No matter how steady you think you are, micro-movements happen. The base plate shifts. The wood grain pulls the blade off course. And that “straight edge” you clamped? It’s rarely perfectly straight—or aligned.
Most beginners underestimate deflection. Even a 1/16″ deviation over 48 inches creates visible error. Professionals know this—and they never freehand critical cuts. Ever.
saw circular cutting guide: Your Step-by-Step System
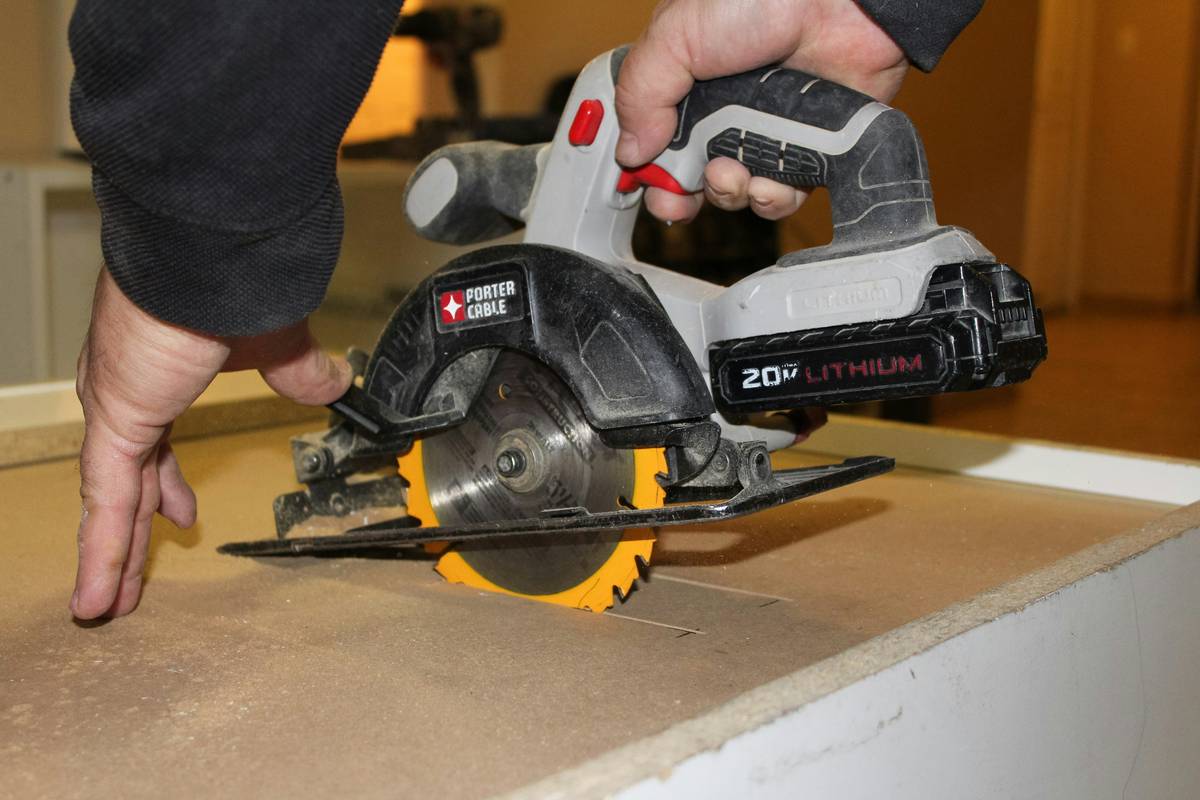
Forget flimsy store-bought jigs. Build or use a guide that locks your saw’s base plate to a rigid, zero-clearance track. Here’s how:
Select Your Guide Type
Options range from DIY plywood rails to commercial aluminum tracks. The key? Rigidity and repeatability. Avoid anything that flexes under pressure.
Calibrate Blade-to-Guide Offset
This is where 90% of users fail. Your saw’s blade isn’t flush with the edge of its base plate. Measure the exact distance from the blade’s cutting edge to the left or right edge of the base—and account for it when positioning your guide.
Secure, Don’t Just Clamp
Clamps can slip. Double-check guide alignment before every cut. Use non-marring clamps on finished surfaces, and consider adding friction tape underneath to prevent crawl.
| Method | Accuracy (over 48″) | Setup Time | Cost |
|---|---|---|---|
| Freehand | ±1/8″ or worse | 10 seconds | $0 |
| Store-Bought Straight Edge | ±1/16″ | 2 minutes | $20–$40 |
| DIY Plywood Guide | ±1/32″ | 15 minutes (one-time build) | $5 (scrap wood) |
| Commercial Track System | ±1/64″ | 3 minutes | $100–$250 |
The Industry Secret: Zero-Clearance Runners
Here’s what pro framers won’t tell you: the real magic isn’t in the guide—it’s in the runner. Most guides rely on the saw’s factory base plate sliding against the edge. But that plate wears, chips, and catches on splinters.
Instead, attach a sacrificial zero-clearance runner—a thin strip of hardwood or UHMW plastic—directly to your saw’s base. This runner rides tight against your guide edge, eliminating play and tear-out. Replace it when worn. Cost? Under $2. Precision gain? Night and day.
And yes—it works even on cheap saws. The math is simple: reduce variables, increase control.
Frequently Asked Questions
Can I use a level as a saw circular cutting guide?
No. Levels flex, warp, and aren’t designed for saw bases. Use them for hanging pictures—not precision woodworking.
How do I stop my circular saw from wandering off the guide?
Check your runner alignment and ensure clamps aren’t distorting the guide. Also, start the saw before touching the wood—don’t “plunge” into the cut.
Is a track saw better than a circular saw with a guide?
Not necessarily. A well-built saw circular cutting guide delivers 95% of a track saw’s accuracy at 10% of the cost. Unless you cut sheet goods daily, skip the upgrade.